Week Review 9/14/2023
Float
For most of this week I focused on the vertical profiling float. I started off by setting some long term goals by writing a timeline and outline for the float this year. The project timeline should have a working float that we can test for reliability by the end of 2023.
The goals for September are:
- Choose communication technology
- Choose easily available motor
- Have CAD model of modular base
- Having working example “ping, pong” radio code
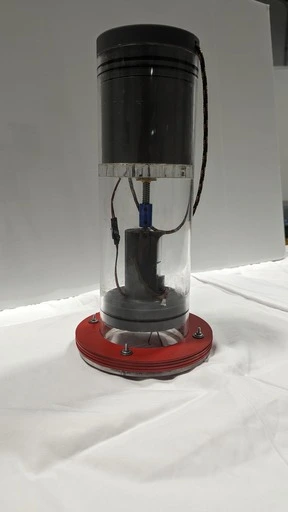
- Get a new bigger tube
Radio Selection
The first goal was choosing a communication technology. I had a few options in mind, LoRA with Meshtastic, raw LoRA, or packet radio. We want to avoid using any licensed bands on the float because we want to be able to easily on-board people without requiring a ham radio license.
We need to have our communication device have an external antenna so it can stick above the water.
Meshtastic

Meshtastic is a great project that makes it simple to set up a mesh network. Meshtastic has a well documented API with a Python library for it, but I could not find any other libraries for Arduino, C, or MicroPython.
Even if there were libraries for micro controllers, because of the way Meshtastic works, I would need two devices inside of the float. For some applications this might be worth it, but in the case of the float there are easier other solutions.
LoRA
Meshtastic is a layer on top of LoRA. There are libraries for LoRA without Meshtastic for Arduino, but they seem over-complicated for this use case. We need to have the float in a testable condition by the end of December, so development time is of the essence.
Another issue with LoRA is the selection of devices with external antennas is lacking.
Packet Radio
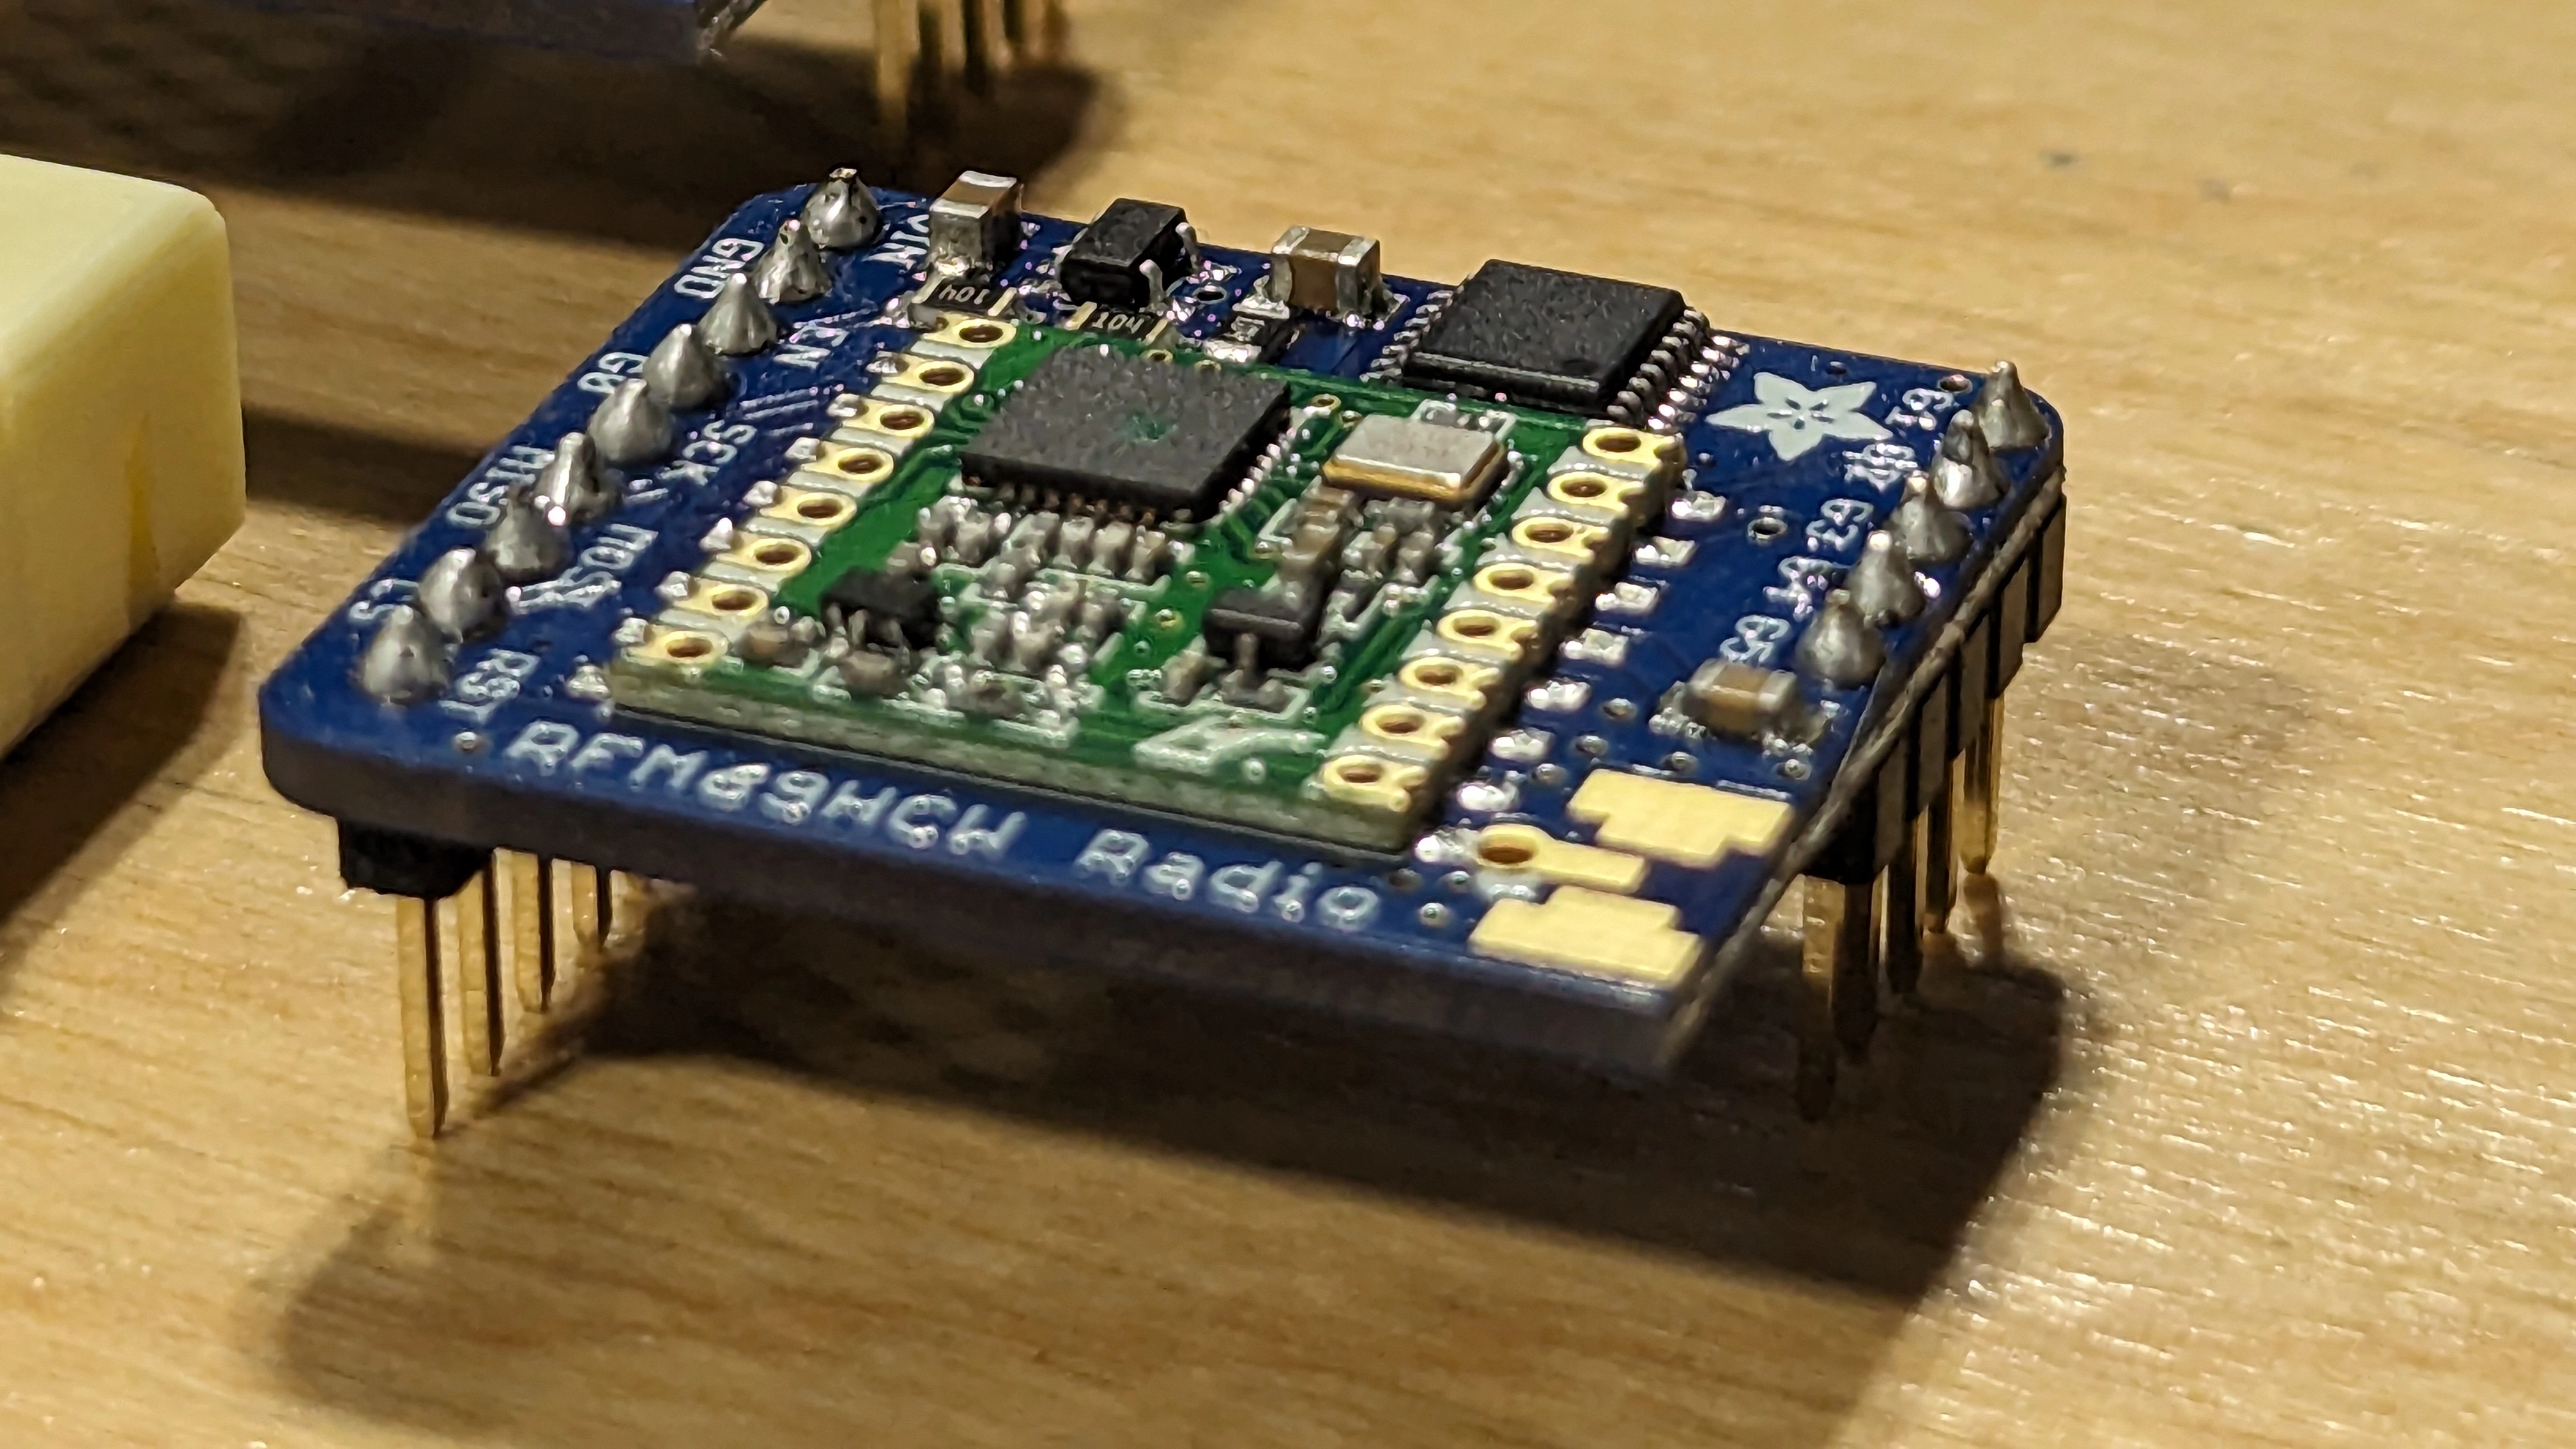
The simplest solution is Packet Radio. We had two RFM69HCW in the shop so I decided to try them. The documentation was excellent from Adafruit, and there are easy to use Arduino Libraries.
The RFM69HCW use external antennas so they seemed perfect for the job.
Wiring Breadboard
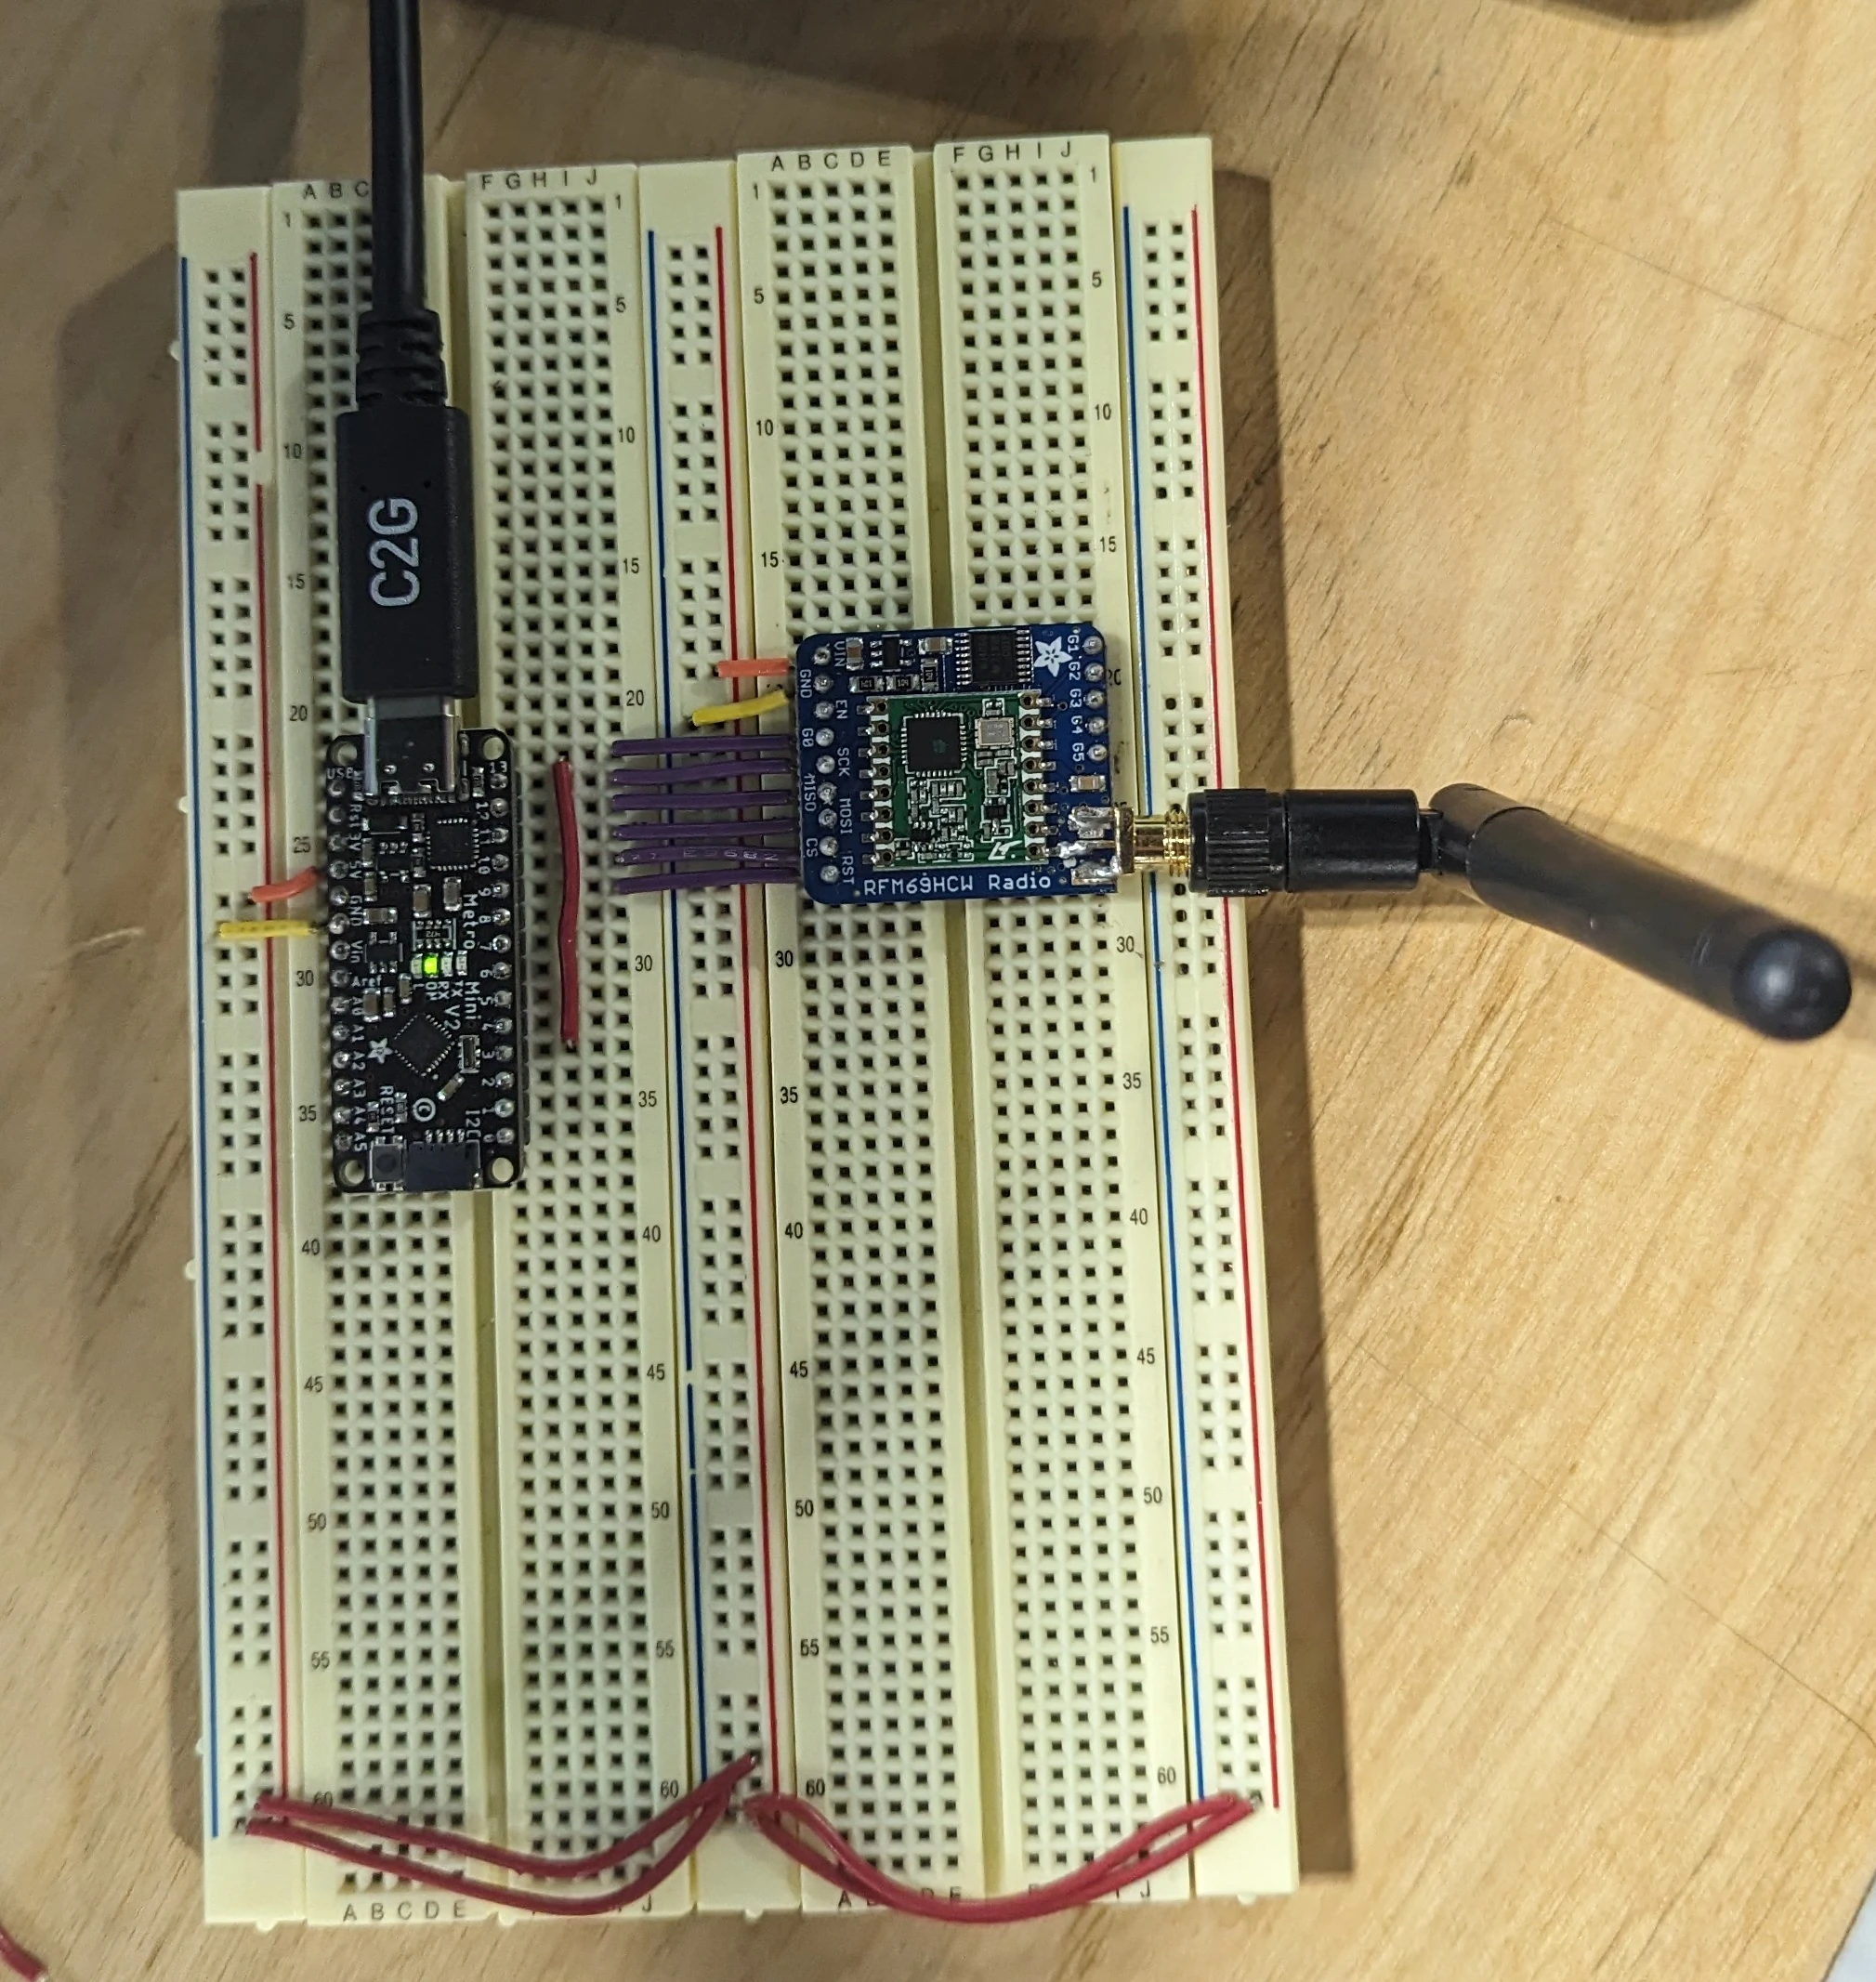
I wired the RFM69HCW to Adafruit Metro Minis as cleanly as possible to make debugging them easier. I found that the RFM69HCW was a little bit inconient to put on a breadboard because it takes up nearly the entire width. I fixed this by using two breadboards rather then one.
I used the Radiohead Arduino library and was able to get the example code running.
Range Testing
From a few inches apart the radios were reliably able to communicate, but they started having difficulty at lengths as low as a foot. I started debugging it, it seemed that I had the radios set to the maximum power. I tested both 915Mhz and 433Mhz, but neither of them increased the distance.
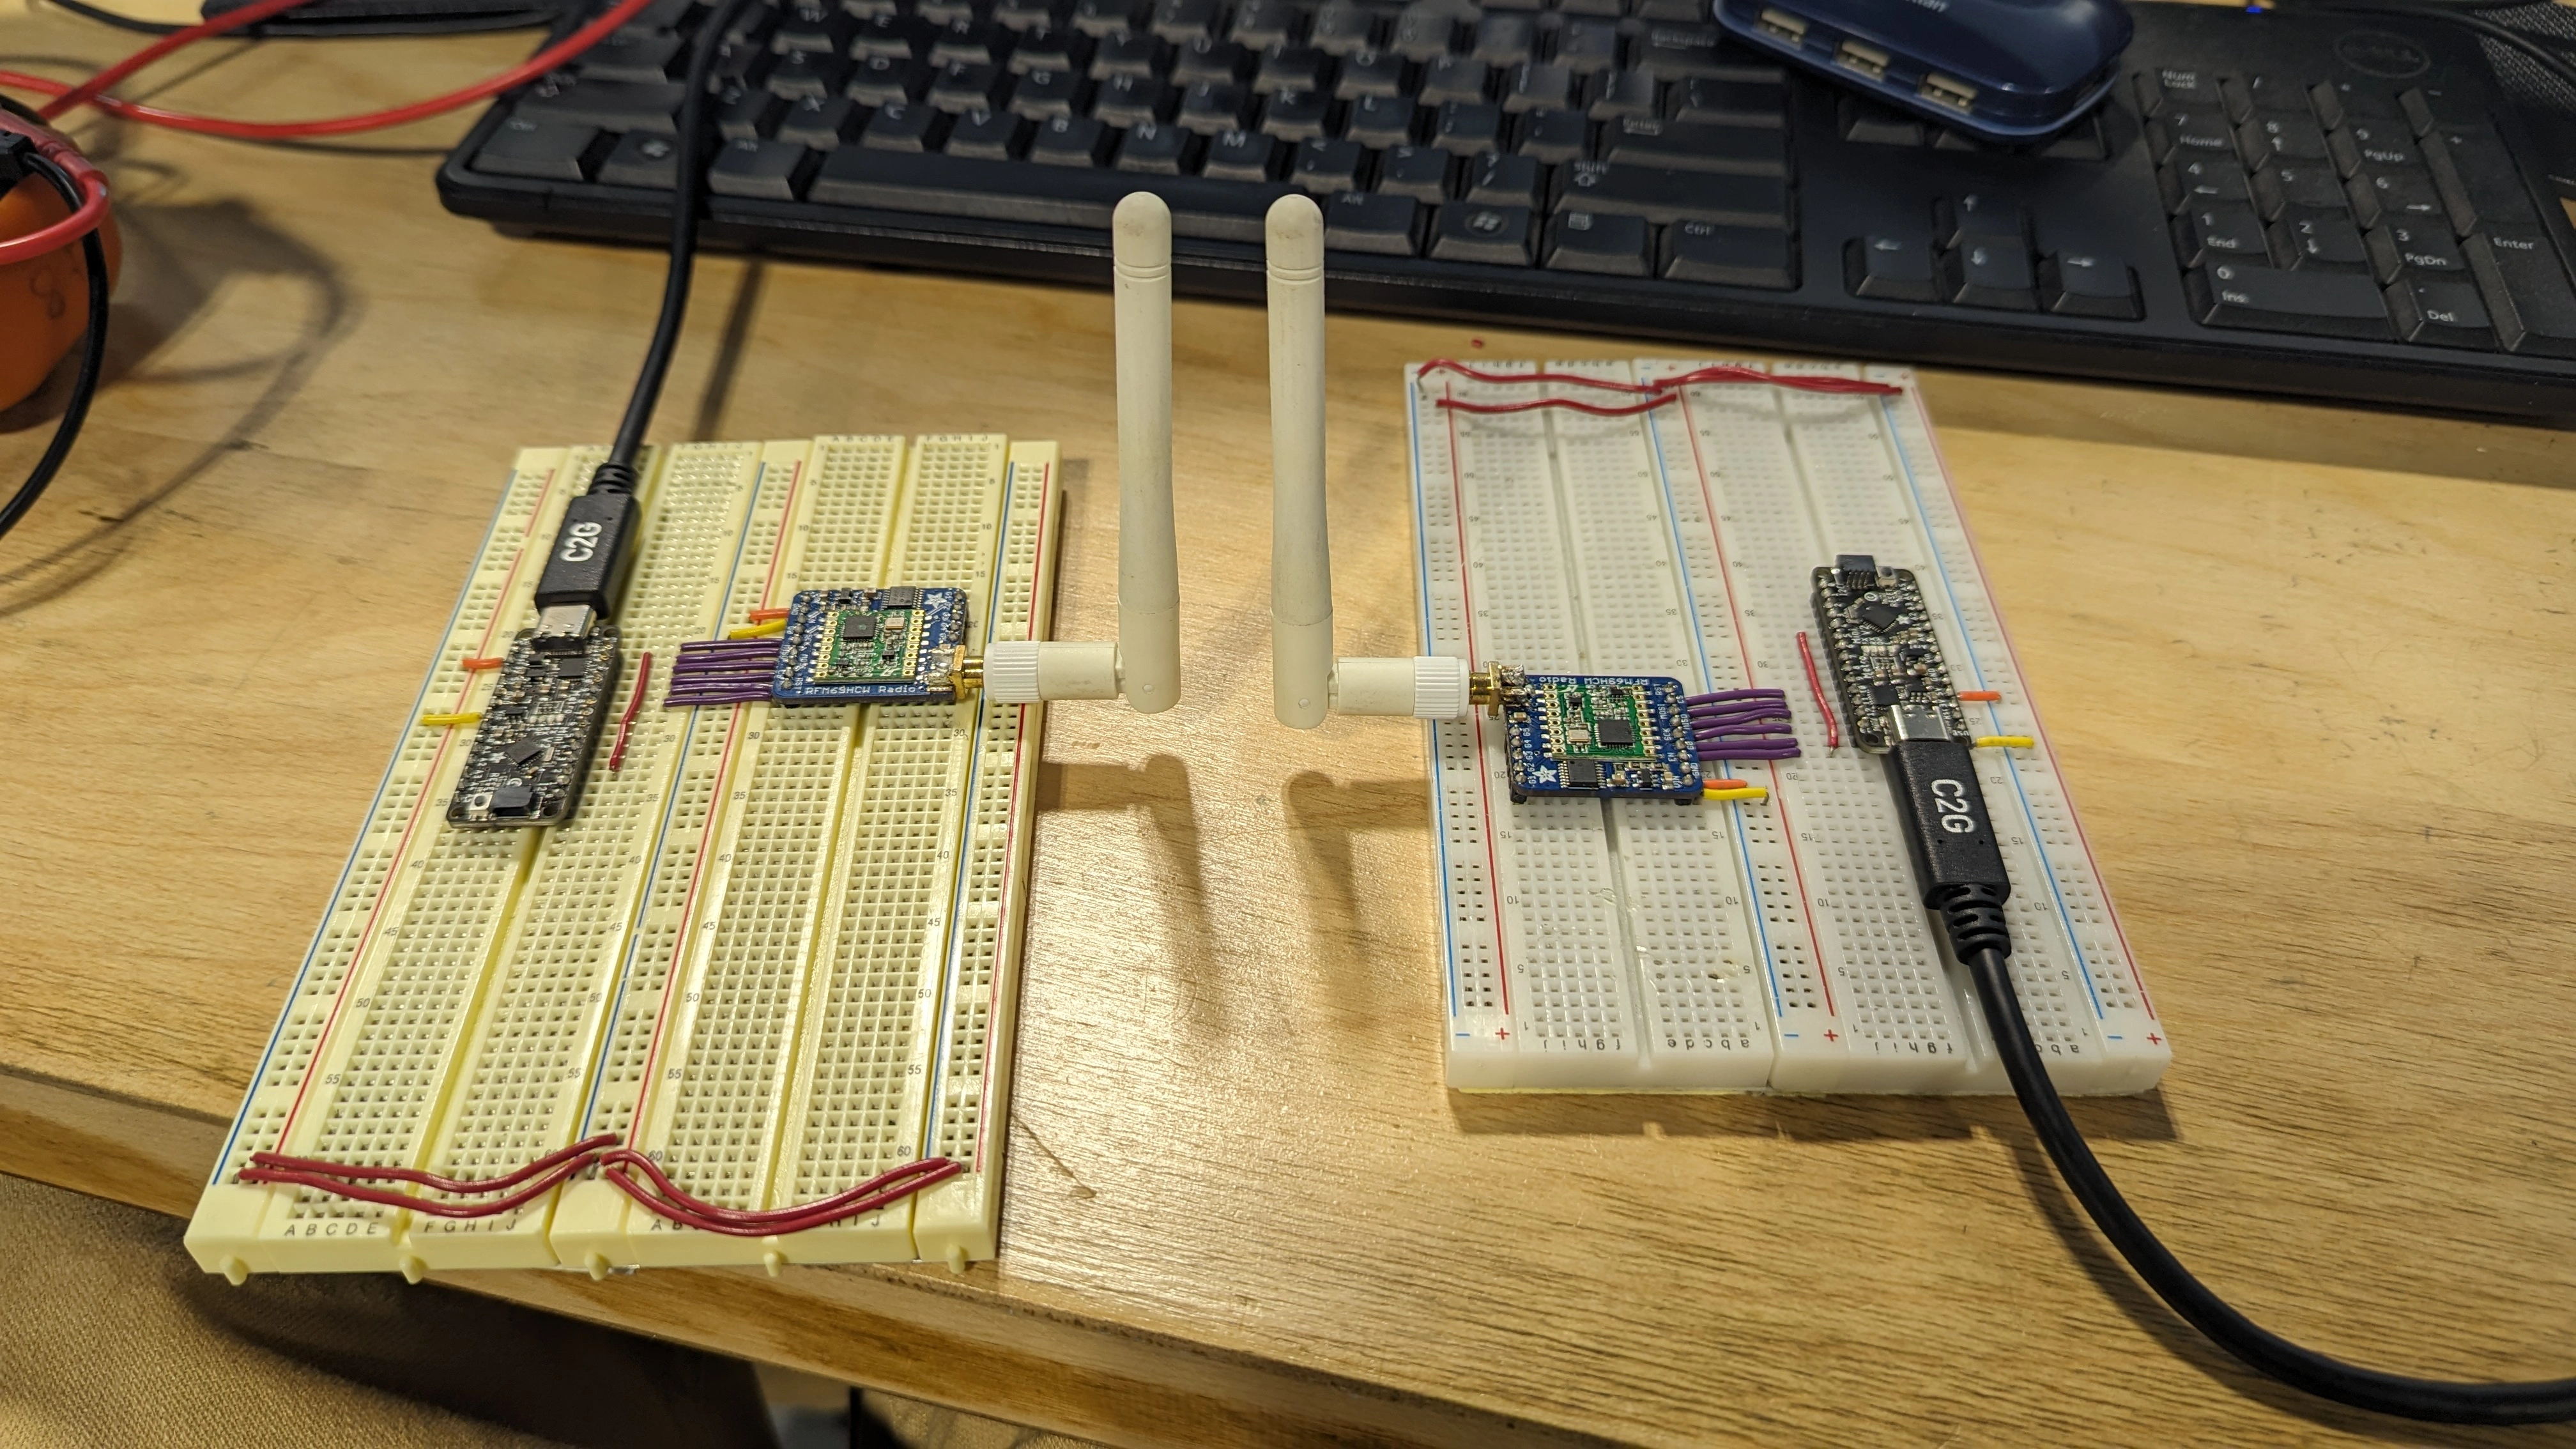
I eventually realized that the antennas we had for the radios did not have a labeled frequency, and they were most likely for use with 2.4GHz, not 915Mhz radios. We did not have a 915Mhz antenna, so I made one myself.
I did this by cutting a 3 inch piece of solid core wire, making a Monopole antenna.
After doing more range testing I found that changing to a wire antenna made an improvement, but it can only transmit for about 10 feet. The radios are not labeled with a frequency so my next step in debugging them will be trying them at 433 megahertz with a proper length of wire.